2 User Interface
In the following we explain the main points of interaction with the user
interface of the RISC ProofNavigator. We assume that the system is
appropriately installed such that after typing
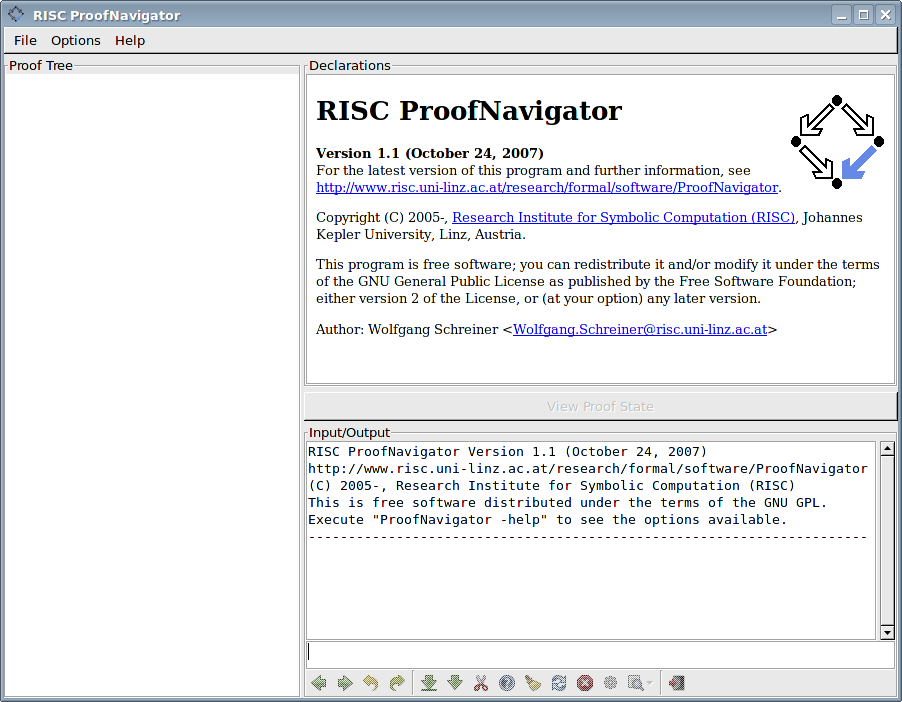
a window pops up that displays the startup screen shown below:
ProofNavigator Startup Window (click to enlarge)
This window has three menus at the top:
- File
- The menu entry "Read File" allows to read a sequence of
declarations from a file; "Restart Session" resets the system to its
initial state; "Quit" lets the system terminate.
- Options
- The entry "No Automatic Simplification" switches off
automatic formula simplifications (which is useful for step-by-step
proof presentations), "Automatic Simplification" switches it on
again. "Bigger Font" selects a larger display font (which is mainly useful
for demonstrations), "Smaller Font" selects the default font again.
- Help
- The entry "Online Manual" displays in the "Declarations" area
the hypertext version of this document; the entry "About ProofNavigator"
displays the copyright message.
The main area of the window is split into three areas (whose borders
may be dragged by the mouse cursor):
- Proof Tree
- This area illustrates the skeleton structure of the proof
which is currently investigated respectively displayed. It mainly serves for
easy navigation through a proof.
- Declarations
- This area initially shows a copyright message. Later it
displays the declarations entered by the user in a pretty-printed form which
closely resembles the usual mathematical notation (while the output window
below shows a corresponding plain text notation). In proving mode, this area
is labelled "Proof State" and typically displays the open proof state
currently investigated by the user (the button "View Declarations" below
this area is then enabled to return to the declaration view).
- Input/Output
- This area consists of an input field where the
user may type in declarations and commands, an output field where the
effect of the user input is shown as plain text, and a row of (possibly
disabled) buttons.
In the input field, some keys have a special interpretation:
- Arrow Up
- Go to the previous command in the history
buffer (a cyclic buffer of the most recently entered commands).
- Arrow Down
- Go to the next command in the history buffer.
- Ctrl+a
- Go to the begin of the line.
- Ctrl+e
- Go to the end of the line.
- Tab
- Go to the next occurrence of template parameter
[] .
The button row consists of the following elements (from left to right):
- Proof Navigation
 [Previous Open State]
- This button triggers the command
prev: the previous element in the list of open proof
states becomes the current state.
 [Next Open State]
-
This button triggers the command
next: the next element in the list of open proof
states becomes the current state.
 [Undo Command]
- This button triggers the command
undo: the effect of the command executed in the parent
of the current state is undone.
 [Redo Command]
- This button triggers the command
redo: the effect of the undo command that led to
the current state is undone.
- Proof Control
 [Scatter State]
-
This button triggers the command
scatter: applying various proving rules, the current state is
scattered into a number of simpler proof states.
 [Decompose State]
- This button triggers the proving command
decompose: applying various proving rules, the formulas in the
current proof state are decomposed to yield a single
simpler proof state.
 [Split State]
-
This button triggers the command
split: applying various proving rules to the goal of the
current state, this state is split into a number of proof states
with simpler goals.
 [Generate Counterexample]
- This button triggers the command
counterexample: a possible refutation of the current proof
state is generated and displayed.
 [Execute "auto" also in Sibling States]
-
This button triggers the command
autostar: the command auto (see the next button) is
applied to the current state and to its subsequent siblings.
 [Close State by Automatic Formula Instantiation]
-
This button triggers the command
auto: an attempt is made to close the current state by
the automatic instantiation of the quantified formulas in the state.
 [Simplify State]
-
This button is only active if
"No Automatic Simplification" has been selected in the "Options" menu;
it triggers the command
simplify to simplify all formulas in the current state.
 [Abort Prover Activity]
- This button aborts the current
activity of the prover.
 [Command List]
-
This button lets a menu pop up that displays all available commands
and command templates. By selecting a command from this menu, the command is
executed in the current state. By selecting a template from this menu,
the template is copied into the input area for instantiating the template
parameters before execution.
- Proof Exit
 [Quit Proof]
-
This button triggers the command
quit: after confirmation by the user, the current proof
is terminated and saved to file.
By invoking the system with
the system starts without the
graphical user interface in plain text mode: declarations and commands are
entered on the command line (i.e. read from the standard input stream) and
results are printed in plain text form to the standard output stream. Most
system features are also available in this mode1.
Wolfgang
Schreiner